
MediaPoint
Overview
A tool implemented with SummitCRS version 8. MediaPoint replaces the Media tab in Summit v7 providing much more flexibility with your media.
Below is all PDF documentation on MediaPoint for Summit 7 & 8 users. If you require additional assistance please contact SummitCRS support at 1-800-789-9112 or 208-947-1738.
Screenshots
PDF Guides
Frequently Asked Questions
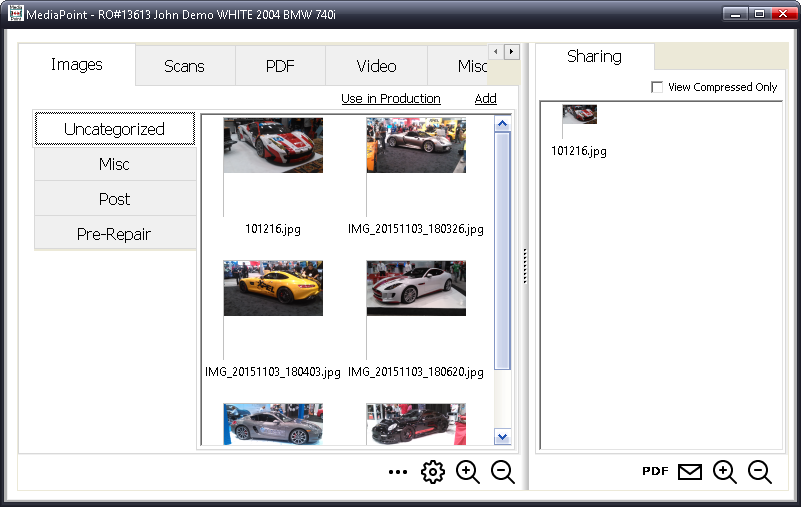
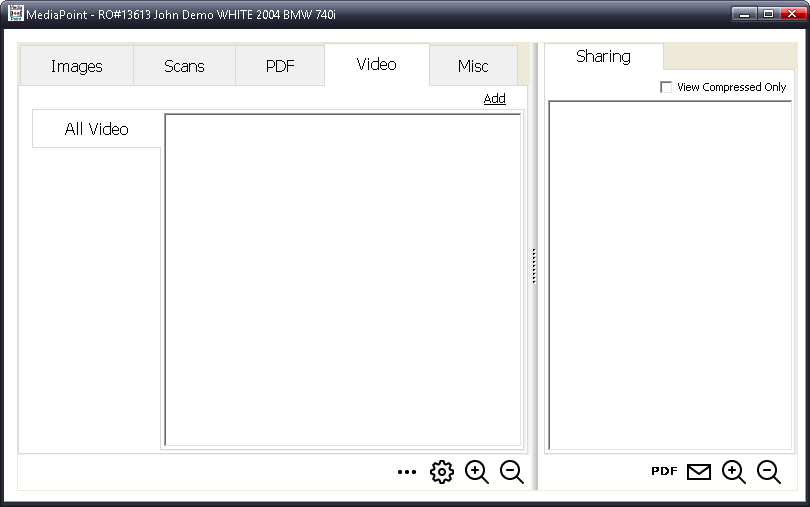
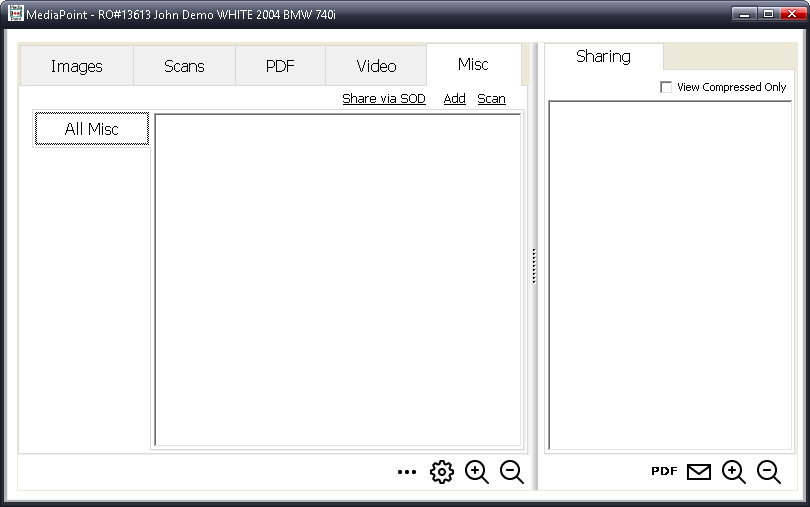
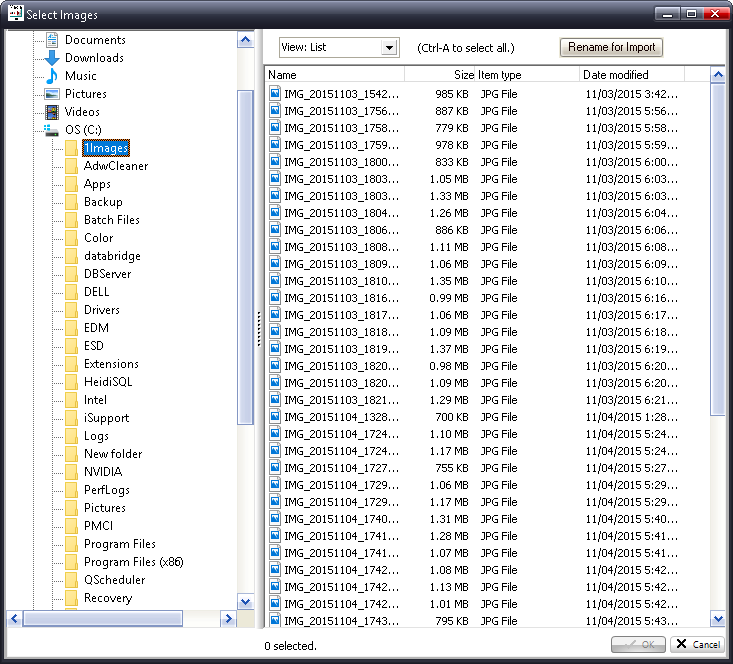
Media can be added to MediaPoint by first accessing MediaPoint with the RO you wish to attach media to selected. Once MediaPoint is accessed, you will select the “add” button on any tab in MediaPoint (Images, Scans, Audio, Misc, PDF). At that point, a file explorer window will appear and you will select the file you wish to add to the RO.
Alternatively, MediaPoint behaves like a typical file explorer window which means you can also drag and drop files into the MediaPoint window to add them.
The first thing we check is our media paths. When you click on the media tab, do the paths appear in red or green? Red is indicative of an invalid path or missing permissions to the network folder. Check the path in the workstation’s file explorer to see if it is accessible. If the path does not exist, find the correct path and update the Summit administration module under the media paths tab.
The other common occurrence is a corrupt MediaPoint file. In your Summit folder there will be a MediaPoint.cfg file, delete this file and reopen MediaPoint. This should recreate the config file and load the tabs of MediaPoint. If you have tried both solutions and the problem persists please contact SummitCRS support for additional assistance.
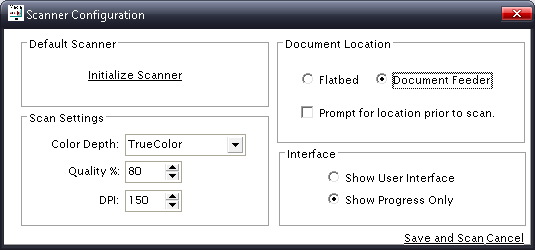
If your media paths are green and other workstations can access MediaPoint but your tabs are not showing, this is typically a simple setting. In the MediaPoint window at the bottom of the screen you should see a cog icon, click this icon to bring up the setup window. From here we want to make sure that every box has a black checkmark. Windows can sometimes default a grey checkmark in this box. This grey checkmark is invalid and we need to click the box to remove it and then again to add the full black checkmark. Once we have verified our checkmarks we can save the setup window and your tabs should appear in MediaPoint.
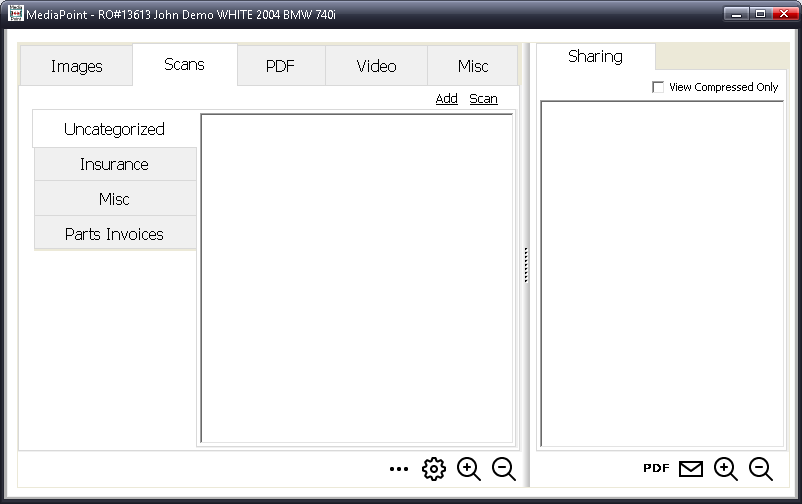
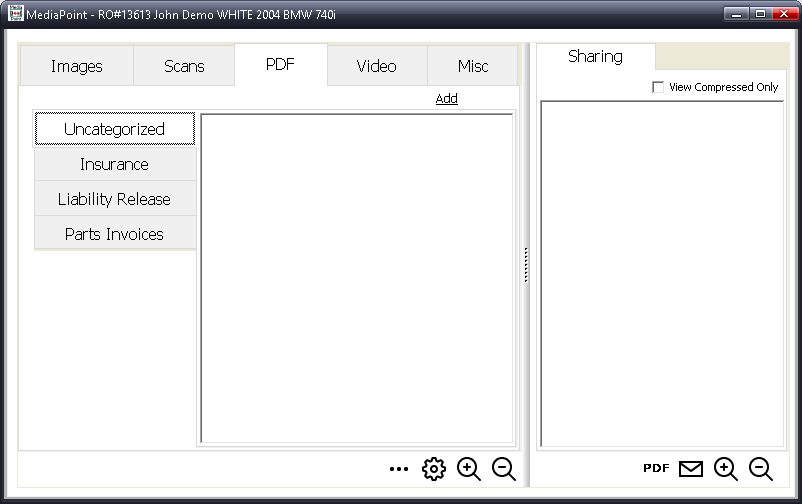
Each tab is filtered by specific file types. The images tab only shows file types commonly associated with images (gif, jpg, jpeg, tiff). Scans will show image files as well as PDF files and the PDF tab will only display PDFs. The misc tab will display any file type. The files that you put there are still in the network destination folder however MediaPoint’s filtering will not allowed them to be displayed.
If you have been upgraded to SummitCRS version 8, you should already have MediaPoint installed. The application will open when the user clicks on the media tab, right clicks on the images link in the header bar, or uses the keyboard shortcut Ctrl-I. If you do not have the mediapoint.exe in your Summit folder please contact SummitCRS support to get the application installed.